
Learn how to make creamy, healthy Vegan Chocolate Ice Cream at home with simple ingredients like cashews and cocoa. A delicious dairy-free treat everyone will love!

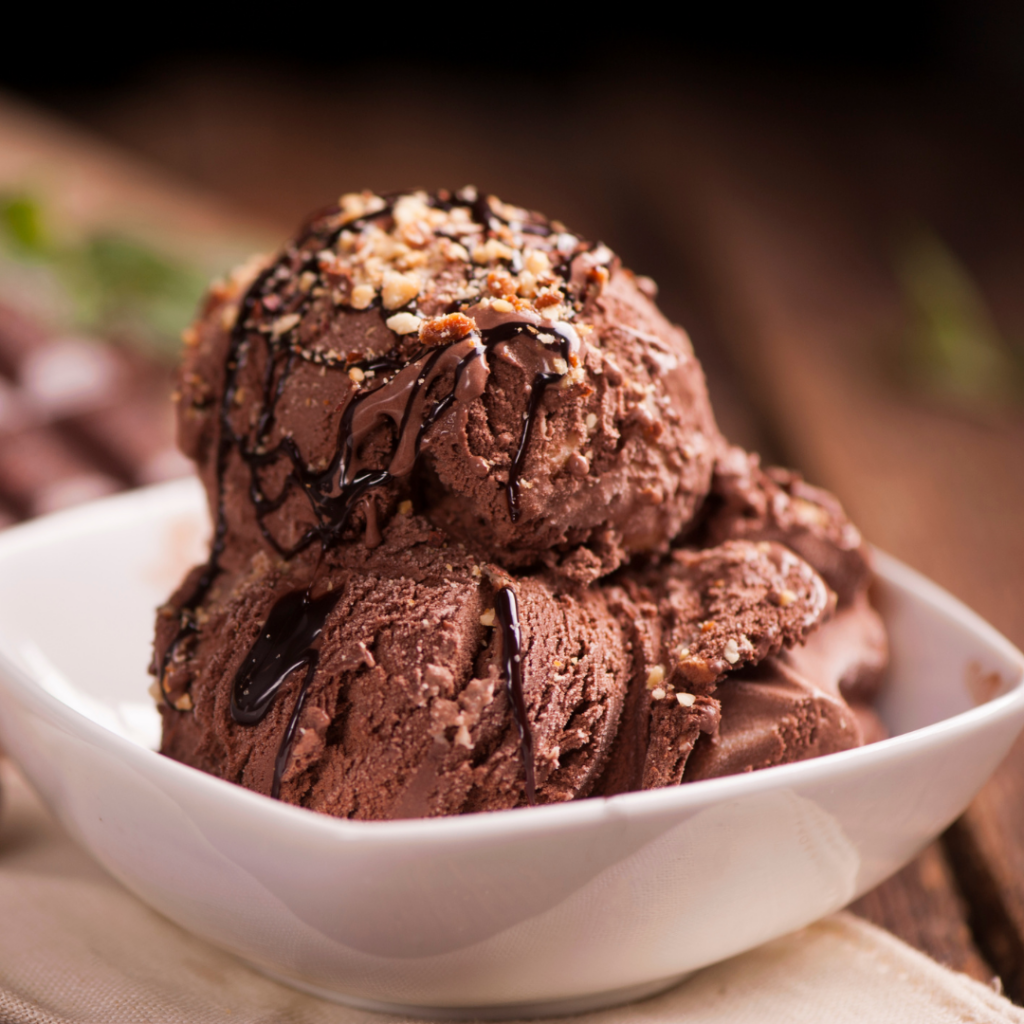
Craving a rich and creamy chocolate ice cream that’s both vegan and guilt-free? This cashew-based chocolate ice cream is a game-changer! Made with wholesome ingredients like soaked cashews, cocoa powder, and a touch of natural sweetener, it’s indulgent yet surprisingly healthy. Perfect for satisfying your sweet tooth on a hot day or impressing friends with a plant-based dessert, this recipe is easy to whip up and requires no fancy equipment. Say goodbye to store-bought options loaded with additives—this homemade Vegan Chocolate Ice Cream will become your go-to for creamy, chocolaty bliss!
Why You’ll Love This Vegan Chocolate Ice Cream
You’ll love this Vegan Chocolate Ice Cream recipe because it’s the perfect combination of indulgence and simplicity. It’s rich, creamy, and bursting with chocolaty goodness, yet made with wholesome, plant-based ingredients you can feel good about. The cashews create a luxurious texture that rivals any dairy-based ice cream, while the natural sweetness and cocoa bring an irresistible flavor. Plus, it’s easy to make at home with no fancy equipment required. Whether you’re vegan, dairy-free, or just looking for a healthier dessert option, this recipe is sure to satisfy your cravings without any guilt!
How to Make this Vegan Chocolate Ice Cream with Cashews
Ingredients:
- 1 cup raw cashews (soaked for 4-6 hours or boiled for 15 minutes)
- 2-3 tablespoons unsweetened cocoa powder (or cacao powder)
- 3 tablespoons maple syrup (or sweetener of choice, adjust to taste)
- 1 teaspoon vanilla extract
- 1 cup plant-based milk (unsweetened almond, oat, or soy)
- Pinch of salt
Instructions:
- Prepare Cashews
- Drain and rinse the soaked cashews.
- Blend Ingredients
- Add the cashews, cocoa powder, maple syrup, vanilla extract, plant-based milk, and salt to a high-speed blender or food processor.
- Blend until completely smooth and creamy. Add a bit more milk if needed for easier blending.
- Freeze
- Transfer the mixture to an airtight container and freeze for at least 4-6 hours, stirring every 1-2 hours to prevent ice crystals.
- Serve
- Let the ice cream sit at room temperature for 5-10 minutes to soften before scooping.
Optional Add-Ins:
- Swirl in peanut butter or almond butter for extra richness.
- Add chopped vegan chocolate or nuts for texture.
Recipe Tips
Soak Cashews for Creaminess: Soaking cashews for at least 4-6 hours (or boiling them for 15 minutes in a pinch) ensures they blend smoothly, giving the ice cream a rich, velvety texture.
Use High-Quality Cocoa Powder: Opt for unsweetened cocoa or cacao powder with a deep, rich flavor. Higher-quality cocoa will elevate the taste of the ice cream.
Sweeten to Your Taste: Adjust the sweetness based on your preference. Start with 2 tablespoons of maple syrup and add more if needed, tasting as you go. Agave or coconut sugar can also work as alternatives.
Prevent Ice Crystals: Press a layer of parchment paper or plastic wrap directly onto the surface of the ice cream before sealing the container. This helps maintain a creamy texture by reducing air exposure.
Experiment with Add-Ins: Get creative by mixing in chopped vegan chocolate, roasted nuts, or swirls of nut butter after blending. These add texture and flavor, making the ice cream even more indulgent.
This cashew-based ice cream is super creamy and rich, perfect for a guilt-free treat! Let me know how it turns out!
Vegan Chocolate Ice Cream (from Cashews)
Equipment
- blender
Ingredients
- 1 cup raw cashews (soaked for 4-6 hours or boiled for 15 minutes)
- 2-3 tbsp unsweetened cocoa powder
- 3 tbsp maple syrup (or sweetener of choice, adjust to taste)
- 1 tsp vanilla extract
- 1 cup plant-based milk (unsweetened almond, oat, or soy)
- pinch of salt
Instructions
- Prepare CashewsDrain and rinse the soaked cashews.
- Blend IngredientsAdd the cashews, cocoa powder, maple syrup, vanilla extract, plant-based milk, and salt to a high-speed blender or food processor.Blend until completely smooth and creamy. Add a bit more milk if needed for easier blending.
- FreezeTransfer the mixture to an airtight container and freeze for at least 4-6 hours, stirring every 1-2 hours to prevent ice crystals.
- ServeLet the ice cream sit at room temperature for 5-10 minutes to soften before scooping.
- Optional Add-Ins:Swirl in peanut butter or almond butter for extra richness.Add chopped vegan chocolate or nuts for texture.
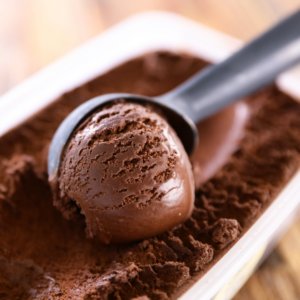
Best Containers for Storing Homemade Ice Cream
To store and freeze homemade ice cream, it’s important to use the right container to preserve its texture and flavor. Here are the best options:
- Shallow, Airtight Plastic or Glass Containers
- Why? A shallow container allows the ice cream to freeze evenly and makes it easier to scoop. Airtight lids prevent ice crystals and freezer burn.
- Examples: Glass containers with snap-on lids (like Pyrex) or BPA-free plastic containers.
- Metal Loaf Pan
- Why? Metal freezes quickly, which can reduce ice crystal formation and speed up freezing. Cover the pan tightly with plastic wrap or reusable silicone wraps to keep the ice cream fresh.
- Tip: Opt for stainless steel to avoid any metallic taste.
- Silicone Ice Cream Tubs
- Why? Specifically designed for ice cream storage, these containers are flexible, making scooping easier. Silicone also prevents freezer odors from seeping in.
- Reusable Plastic Ice Cream Tubs
- Why? These tubs are lightweight, stackable, and often come with tight-fitting lids designed for ice cream. Look for ones with a double-insulated design for better temperature control.
- Individual Silicone Molds or Jars
- Why? Perfect for single servings, they make it easy to grab just the right amount without exposing the whole batch to air repeatedly.
Tips for Storing Ice Cream:
- Press a layer of parchment paper or plastic wrap directly onto the surface of the ice cream before sealing to minimize air exposure and prevent ice crystals.
- Store the ice cream in the back of the freezer, where the temperature is most consistent.
- Avoid overfilling the container, leaving a bit of space for expansion as the ice cream freezes.
Let me know which container works best for you!